Setting Up a SAML Identity Provider from Scratch (Step-by-Step)
Learn how to set up a SAML Identity Provider (IdP) from scratch. This step-by-step guide covers installation, configuration, connecting with Service Providers, troubleshooting, and security best practices for a reliable SSO setup.
Introduction
In today’s digital landscape, identity and access management (IAM) has become the backbone of secure IT systems. Employees, customers, and partners all need to authenticate across countless applications, and doing this safely while maintaining a seamless user experience is no small feat.
That’s where SAML (Security Assertion Markup Language) comes in. SAML allows organizations to centralize authentication with an Identity Provider (IdP), letting users sign in once and access multiple services securely.
I still remember my first time setting up an IdP—it was for a mid-size organization that had grown tired of managing user logins across dozens of SaaS tools. At the time, we couldn’t rely on a pre-packaged identity solution, so I had to roll up my sleeves and build one from scratch. It was a steep learning curve, but it taught me invaluable lessons about authentication, certificates, and troubleshooting federated identity.
This guide distills that experience into a practical, step-by-step walkthrough so you can set up your own IdP with confidence.
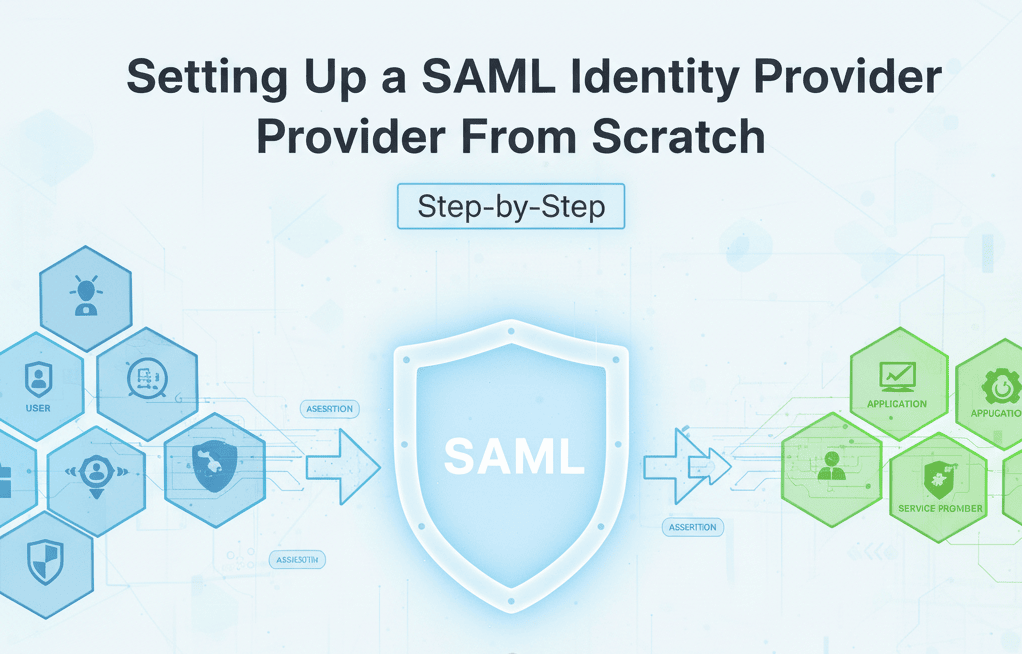
Section 1: The Foundations of SAML
Before touching a server, let’s clarify what SAML is.
What is SAML?
SAML (Security Assertion Markup Language) is an XML-based standard for exchanging authentication and authorization data between parties. It was designed to allow Single Sign-On (SSO) between different systems without forcing users to juggle multiple accounts and passwords.
Core Components:
- Identity Provider (IdP): Authenticates users and issues SAML assertions.
- Service Provider (SP): Relies on the IdP to confirm user identity.
- Assertions: XML documents that carry authentication data.
- Metadata: Describes endpoints, certificates, and configurations for IdP and SPs.
Think of SAML as a digital passport system. Your IdP is the passport office, issuing secure identity documents (assertions). SPs are like countries, accepting passports from trusted authorities.
Why Choose SAML?
- Standardized and widely adopted across enterprises.
- Eliminates password fatigue with SSO.
- Secure exchange using signing and encryption.
- Works across organizational boundaries.
Section 2: Preparing for the Setup
Like any infrastructure project, success begins with preparation.
Prerequisites
- Server (Linux VM or container-friendly environment).
- SSL Certificate (Let’s Encrypt or commercial CA).
- DNS entry pointing to your IdP server.
- NTP (Network Time Protocol) to keep system clock synchronized.
Skills You’ll Need
- Basic knowledge of Linux administration.
- Familiarity with certificates and PKI.
- Comfort reading/editing XML configuration files.
Why HTTPS Matters
SAML assertions are sensitive. Without proper encryption, they can be intercepted and abused. Always configure SSL/TLS before exposing your IdP to the world.
Reference: OASIS SAML Technical Overview
Section 3: Building the Identity Provider Step by Step
For this guide, we’ll use SimpleSAMLphp, a widely used open-source IdP. (You could also explore Shibboleth or Keycloak, but SimpleSAMLphp is lightweight and beginner-friendly.)
Step 1: Install Dependencies
On a Debian/Ubuntu server:
sudo apt update
sudo apt install apache2 php libapache2-mod-php openssl unzip -y
Step 2: Download and Configure SimpleSAMLphp
cd /var
sudo wget https://github.com/simplesamlphp/simplesamlphp/releases/download/v2.2.0/simplesamlphp-2.2.0.tar.gz
sudo tar xvf simplesamlphp-2.2.0.tar.gz
sudo mv simplesamlphp-2.2.0 simplesamlphp
Edit Apache configuration to serve SimpleSAMLphp:
sudo nano /etc/apache2/sites-available/simplesamlphp.conf
Add:
Alias /simplesaml /var/simplesamlphp/www

<Directory /var/simplesamlphp/www>
   Require all granted
</Directory>
Enable site:
sudo a2ensite simplesamlphp.conf
sudo systemctl reload apache2
Step 3: Generate Certificates
cd /var/simplesamlphp/cert
openssl req -newkey rsa:2048 -new -x509 -days 3652 -nodes \
-keyout saml.pem -out saml.crt
This certificate will be used to sign assertions.
Step 4: Configure IdP Metadata
Edit /var/simplesamlphp/config/authsources.php:
'default-sp' => [
   'saml:SP',
   'entityID' => 'http://idp.example.com/simplesaml/module.php/saml/sp/metadata.php/default-sp',
   'idp' => 'http://idp.example.com/idp',
],
Edit IdP config /var/simplesamlphp/metadata/saml20-idp-hosted.php:
$metadata['http://idp.example.com/idp'] = [
   'host' => '__DEFAULT__',
   'privatekey' => 'saml.pem',
   'certificate' => 'saml.crt',
];
Step 5: Add Users
Edit /var/simplesamlphp/config/authsources.php:
'example-userpass' => [
   'exampleauth:UserPass',
   'users' => [
       'alice:password' => [
           'uid' => 'alice',
           'email' => 'alice@example.com',
       ],
   ],
],
Step 6: Test the IdP
Visit:
http://idp.example.com/simplesaml
Login with alice / password. If successful, your IdP is operational.
Section 4: Connecting to a Service Provider
Now that we have an IdP, let’s connect it to a Service Provider.
Metadata Exchange
- Import it into the SP configuration.
- Get SP metadata and import into IdP at
/var/simplesamlphp/metadata/saml20-sp-remote.php.
Download IdP metadata:
http://idp.example.com/simplesaml/saml2/idp/metadata.php
Example:
$metadata['http://sp.example.com/sp'] = [
   'AssertionConsumerService' => 'http://sp.example.com/simplesaml/module.php/saml/sp/saml2-acs.php/default-sp',
   'SingleLogoutService' => 'http://sp.example.com/simplesaml/module.php/saml/sp/saml2-logout.php/default-sp',
];
Test Authentication Flow
Log into the SP, and it should redirect you to the IdP for login. Upon success, you’ll return with a valid SAML assertion.
Section 5: Testing, Debugging, and Troubleshooting
Even with everything configured, SAML rarely works perfectly on the first try.
Tools You’ll Want
- SAML-tracer (Firefox/Chrome extension): visualize requests and responses.
- xmlsec1 command line tool for debugging signatures.
- Apache error logs for PHP/IdP misconfigurations.
Common Issues
- Clock skew: Fix with NTP (
sudo apt install ntp). - Certificate mismatch: Ensure both IdP and SP are using the same certificate.
- Assertion errors: Double-check entityIDs and ACS URLs.
Debugging tip: when an SP rejects assertions, export the raw SAML response from SAML-tracer and validate the XML signature with:
xmlsec1 verify --id-attr:ID Response saml-response.xml
Section 6: Hardening and Best Practices
Now that it works, let’s make it secure.
- Rotate certificates regularly and store private keys securely.
- Limit assertion lifetime (e.g., 5 minutes) to reduce replay risk.
- Enable logging with audit trails of authentication events.
- Attribute minimization: only release attributes the SP needs (e.g., don’t send full profile data).
- Force HTTPS everywhere.
Reference: NIST Guidelines on Authentication
Section 7: Expanding the Setup
Once your IdP is stable, you can expand.
- Add more SPs: Just add their metadata files.
- Enable Single Logout (SLO): Ensures user sessions end across all SPs.
- Federation: Trust external IdPs (e.g., integrate with a partner org).
- Scaling: Run multiple IdPs behind a load balancer, sync sessions with Redis or database.
When we scaled our IdP beyond a single SP, the biggest lesson was documentation discipline. Without it, keeping track of metadata, certificates, and endpoints quickly becomes overwhelming.
Conclusion
By now, you’ve walked through the journey of:
- Understanding SAML and its components.
- Preparing a secure environment.
- Building a working IdP from scratch.
- Connecting it to a Service Provider.
- Troubleshooting, securing, and scaling the setup.
The first time I set up a SAML IdP, I underestimated the nuance of certificates and XML configuration. But with patience, testing tools, and careful reading of logs, it became one of the most rewarding infrastructure projects I’ve worked on.
If you follow this guide, you’ll not only have a functional IdP—you’ll also gain a deep appreciation for the mechanics of federated identity. That knowledge pays dividends whether you’re running a small lab, preparing for compliance audits, or designing enterprise-grade authentication systems.
Next steps:
- Experiment with MFA integration.
- Explore federation with an external IdP (e.g., Azure AD).
- Harden production with monitoring and incident response.
Identity is the new security perimeter—and now you’ve built its gatekeeper from scratch.