Building a Developer Identity Portal with Spring Boot and Keycloak
A walkthrough for constructing a self-service identity portal using Spring Boot and Keycloak to enhance developer experience and manage API keys effectively.
The fundamental confusion in building developer portals often stems from conflating the User Interface with the Identity Provider. When constructing a self-service identity portal, the system must not treat API keys as simple database strings. Instead, the architecture relies on a strict separation of concerns: Keycloak manages the lifecycle and cryptographic validity of identities, while Spring Boot acts as the gatekeeper that enforces these identities against API traffic. The mechanism here is not "authentication" in the traditional sense of checking a password, but rather "credential validation" where a lightweight token proves the holder's right to act.
The Trust Boundary and Data Flow
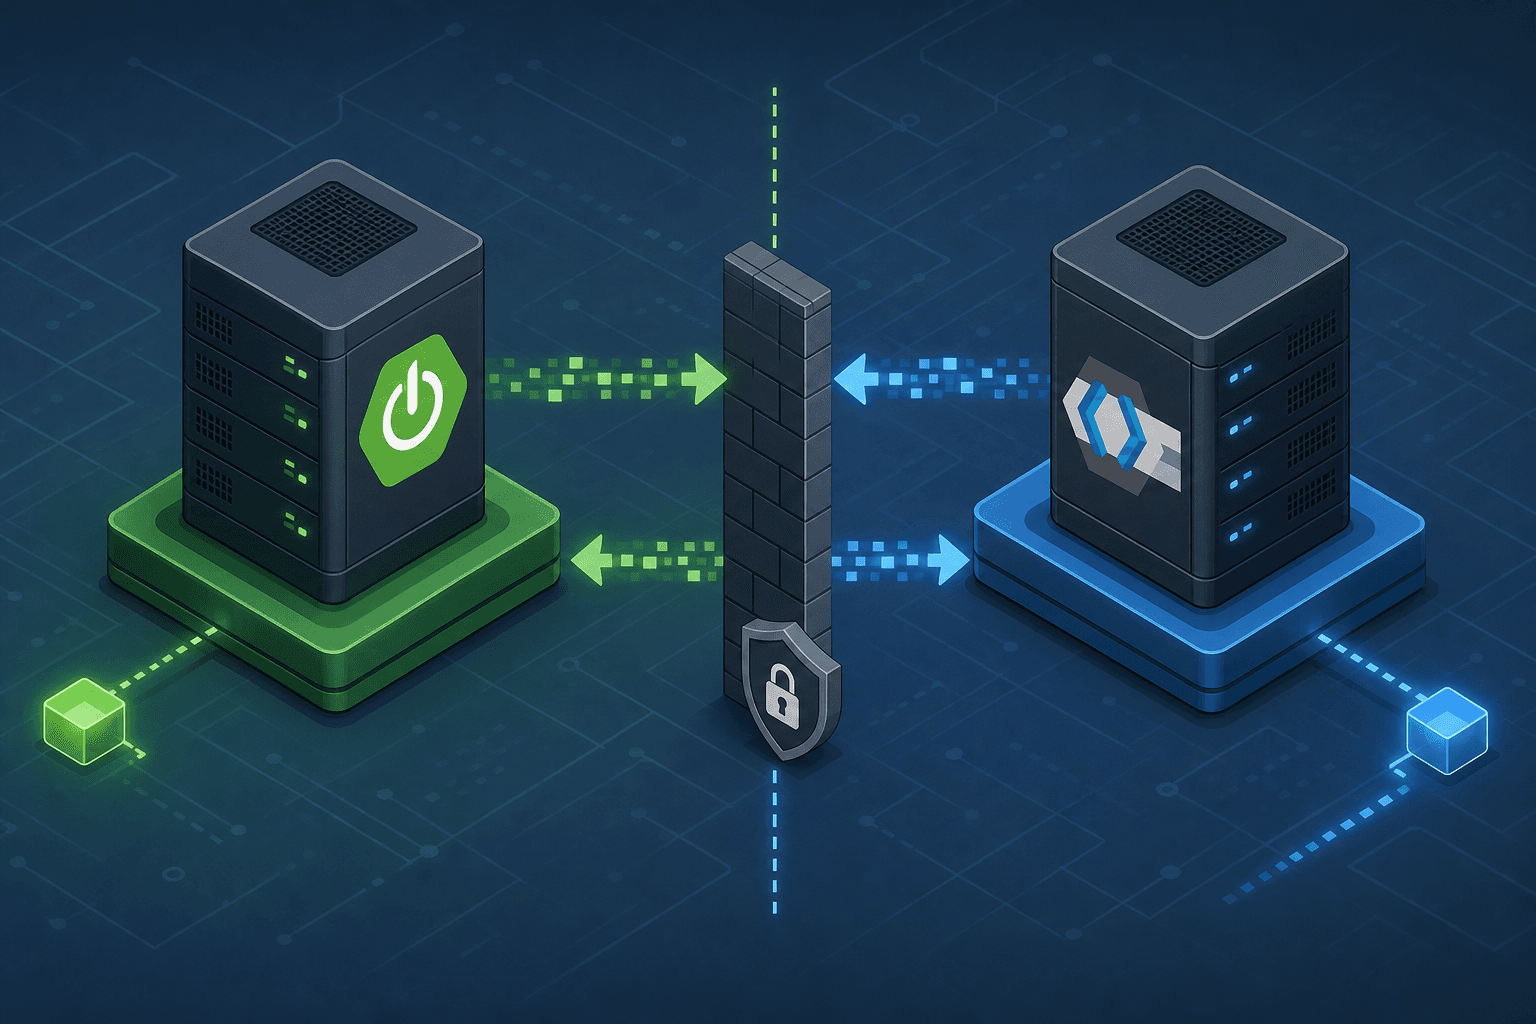
In a typical monolithic application, the database stores the API key and the application logic verifies it against a hash. In a distributed system using Keycloak, the trust boundary shifts. Keycloak becomes the sole authority for the existence and validity of the key. Spring Boot does not store the secret; it only holds the public key or the OIDC configuration required to verify the signature of a token or the validity of a reference.
Consider a scenario where a developer named "Alex" needs an API key for a new microservice. The flow begins when Alex submits a request through the Spring Boot portal. Spring Boot does not generate the key itself. It acts as a proxy, authenticating Alex's session (via an existing OAuth2 access token) and then invoking the Keycloak Admin API to provision a new credential for Alex's account. This ensures that the actual secret generation happens within Keycloak's secure boundary, preventing the application from ever seeing the raw secret until the moment of handoff.
This self-service workflow is a critical component of modern developer experience tools, allowing engineers to provision their own credentials without waiting for administrative intervention. The portal streamlines the onboarding process, reducing friction while maintaining strict security boundaries.

Configuring Keycloak for Self-Service
To enable this, Keycloak must be configured to support a specific credential type that mimics an API key. By default, Keycloak manages usernames and passwords. For an API portal, we need a client-side credential that can be generated programmatically. During the identity provider setup, you define a client for the portal itself. This client has a service-account role that allows Spring Boot to impersonate the system for administrative tasks like creating users or generating keys.
It is crucial to clarify that using Keycloak's standard "Client Policies" or "User Storage Providers" does not natively support dynamic API key generation for end-users out of the box. This functionality typically requires a custom Keycloak SPI (Service Provider Interface) or a specific extension (such as the 'Keycloak API Key' extension) rather than simple configuration changes.
Furthermore, a common architectural error is conflating "API Keys" with "Client Secrets." A client-secret is designed for authenticating the client application itself (machine-to-machine), not for issuing user-facing API keys that appear in an X-API-Key header. To issue keys for human developers, you should implement a custom credential type or use a known extension that supports user-specific credentials.
// Conceptual representation of the Spring Boot client credentials flow
// to talk to Keycloak Admin API
String token = oauth2Client.getToken("realm-name", "admin-client-id", "admin-secret");
RestTemplate restTemplate = new RestTemplate();
restTemplate.getInterceptors().add((request, body, execution) -> {
    request.getHeaders().set("Authorization", "Bearer " + token);
    return execution.execute(request, body);
});
When Alex requests a key, Spring Boot sends a POST request to the Keycloak Admin API endpoint /admin/realms/{realm}/clients/{clientId}/users/{userId}/credentials. The payload specifies the credential type as a custom api-key implementation. Keycloak generates the cryptographic secret and returns it to Spring Boot. Spring Boot then displays this secret to Alex. Crucially, Keycloak immediately revokes the ability to read this secret again; it is only returned once during the initial creation. This mechanism prevents accidental exposure in logs or databases.
Spring Boot as the Policy Executor
Once the key is issued, the next challenge is validation. Spring Boot must intercept incoming requests containing the API key and validate them against Keycloak. This is done using a custom Filter or by leveraging Spring Security's OAuth2ResourceServer configuration.
The mechanism here involves the "Bearer Token" validation flow, but adapted for API keys. Since API keys are often static strings rather than short-lived JWTs, the validation logic must query Keycloak to check the status of the credential. Alternatively, a more performant approach is to use a "Self-Signed JWT" where the API key acts as the JWT itself, signed by Keycloak.
Let's assume the simpler pattern where the API key is a UUID stored in Keycloak's user profile. Spring Boot receives the request header X-API-Key: <uuid>. The application extracts this value and calls the Keycloak Admin API (or a dedicated internal endpoint that proxies this) to fetch the user details associated with that key. If the key exists and is not revoked, Spring Boot creates a SecurityContext with the user's authorities and proceeds.
@Component
public class ApiKeyAuthenticationFilter extends OncePerRequestFilter {
    private final KeycloakService keycloakService;

    @Override
    protected void doFilterInternal(HttpServletRequest request, HttpServletResponse response, FilterChain chain) {
        String apiKey = request.getHeader("X-API-Key");
        if (apiKey == null) {
            response.sendError(HttpServletResponse.SC_UNAUTHORIZED, "Missing API Key");
            return;
        }

        try {
            // Mechanism: Lookup user in Keycloak by API key ID
            UserDetails userDetails = keycloakService.validateApiKey(apiKey);
            Authentication auth = new UsernamePasswordAuthenticationToken(userDetails, null, userDetails.getAuthorities());
            SecurityContextHolder.getContext().setAuthentication(auth);
        } catch (Exception e) {
            response.sendError(HttpServletResponse.SC_FORBIDDEN, "Invalid API Key");
            return;
        }
        chain.doFilter(request, response);
    }
}
This filter ensures that every request is validated against the source of truth. If Keycloak marks a key as revoked, the lookup fails, and the request is denied. This decouples the storage of secrets from the application logic, adhering to the principle of least privilege.

The Self-Service Loop and Developer Experience
The final piece of the puzzle is the user experience loop. A developer portal must be self-service. When Alex logs into the portal, Spring Boot checks their identity. If Alex has no API keys, the portal presents a "Generate Key" button. Upon clicking, Spring Boot triggers the Keycloak provisioning logic described earlier.
This workflow relies on the "Service Account" pattern. The Spring Boot application authenticates to Keycloak using a dedicated client with realm-management roles. This allows it to perform administrative actions like creating a new credential for a specific user without requiring the user's password. The user's password remains secret, known only to the user or managed via a separate identity provider.
The data flow is:
- Alex authenticates to Spring Boot (via Keycloak OAuth2).
- Spring Boot identifies Alex as a valid user.
- Alex requests a new key.
- Spring Boot calls Keycloak Admin API (
POST /.../credentials) with its own service account token. - Keycloak generates a random secret, stores the hash, and returns the plain text secret only once.
- Spring Boot displays the secret to Alex and logs the event.
- Alex uses the secret in future API calls.
This architecture ensures that the API key is never persisted in the application's database. If the application is compromised, the attacker gains access to the code but not the secrets, as the secrets exist only transiently in memory or are stored hashed in Keycloak. This significantly reduces the blast radius of a security incident.
Conclusion
Building a developer identity portal with Spring Boot and Keycloak requires shifting the mindset from "managing keys" to "orchestrating identity." The architecture relies on a clear separation of concerns: Keycloak handles the cryptographic generation and storage of credentials, while Spring Boot acts as the intelligent proxy that validates access and manages the user interface. By enforcing this separation, you achieve a system where API keys are ephemeral, revocable, and auditable, providing a superior developer experience without compromising security. While this approach introduces complexity in the integration layer, the resulting security posture and operational flexibility are substantial benefits that outweigh the initial implementation effort.
Common Pitfalls
When implementing this architecture, several common pitfalls can undermine security and usability:
- Misusing Client Secrets: Do not use the
client-secretattribute for user-facing API keys. Client secrets are intended for machine-to-machine authentication (Service Accounts) and lack the granular lifecycle management required for individual developer keys. - Assuming Secret Retrieval: Never assume that a generated secret can be retrieved after the initial creation. Keycloak's standard behavior for sensitive credentials is to return the plain text value only once. Attempting to fetch it later will fail, so ensure your UI captures and stores the key immediately upon generation.
- Overlooking Custom SPIs: Relying solely on standard Keycloak configurations for dynamic API key generation is insufficient. Implementing a robust solution often requires developing a custom Service Provider Interface (SPI) or integrating a third-party extension to handle user-specific credential types effectively.
Practical Takeaways
- Separate Machine and User Credentials: Distinguish clearly between the Service Account credentials used by Spring Boot to talk to Keycloak and the API keys issued to developers. They serve different authentication contexts.
- Never Assume Secrets are Retrievable: Design your user interface to capture and display the API key immediately upon generation. Do not build features that rely on retrieving a lost secret from the identity provider.
- Use Extensions for Non-Standard Features: Leverage the Keycloak ecosystem extensions or custom SPIs for advanced features like dynamic API key generation rather than trying to force standard configurations to do non-standard work.
FAQ
Q: Can I retrieve a lost client secret? A: No. For security reasons, Keycloak returns the plain text client secret only once during creation. If it is lost, you must generate a new one, which will invalidate the old secret.
Q: What is the difference between API keys and client secrets? A: Client secrets authenticate the client application (machine identity) to the identity provider. API keys authenticate a specific user or tenant to an API gateway or service. They should not be used interchangeably.
Q: Do I need a custom SPI for this? A: Yes, for a production-grade self-service portal where users generate their own API keys dynamically, you will likely need a custom SPI or a specialized Keycloak extension, as standard configurations do not support this out-of-the-box.
Related posts
Keycloak Client Scopes and Protocol Mappers Explained
A detailed look at Keycloak client scopes and protocol mappers for token customization and claim management.
Building a Self-Service Password Reset with Spring Boot and Keycloak
A walkthrough of implementing password recovery and self-service identity flows using Spring Boot and Keycloak required actions.
Keycloak and Spring Boot Integration: Advanced Patterns
Explore advanced Keycloak and Spring Boot integration patterns including multi-tenant setups and reactive security.