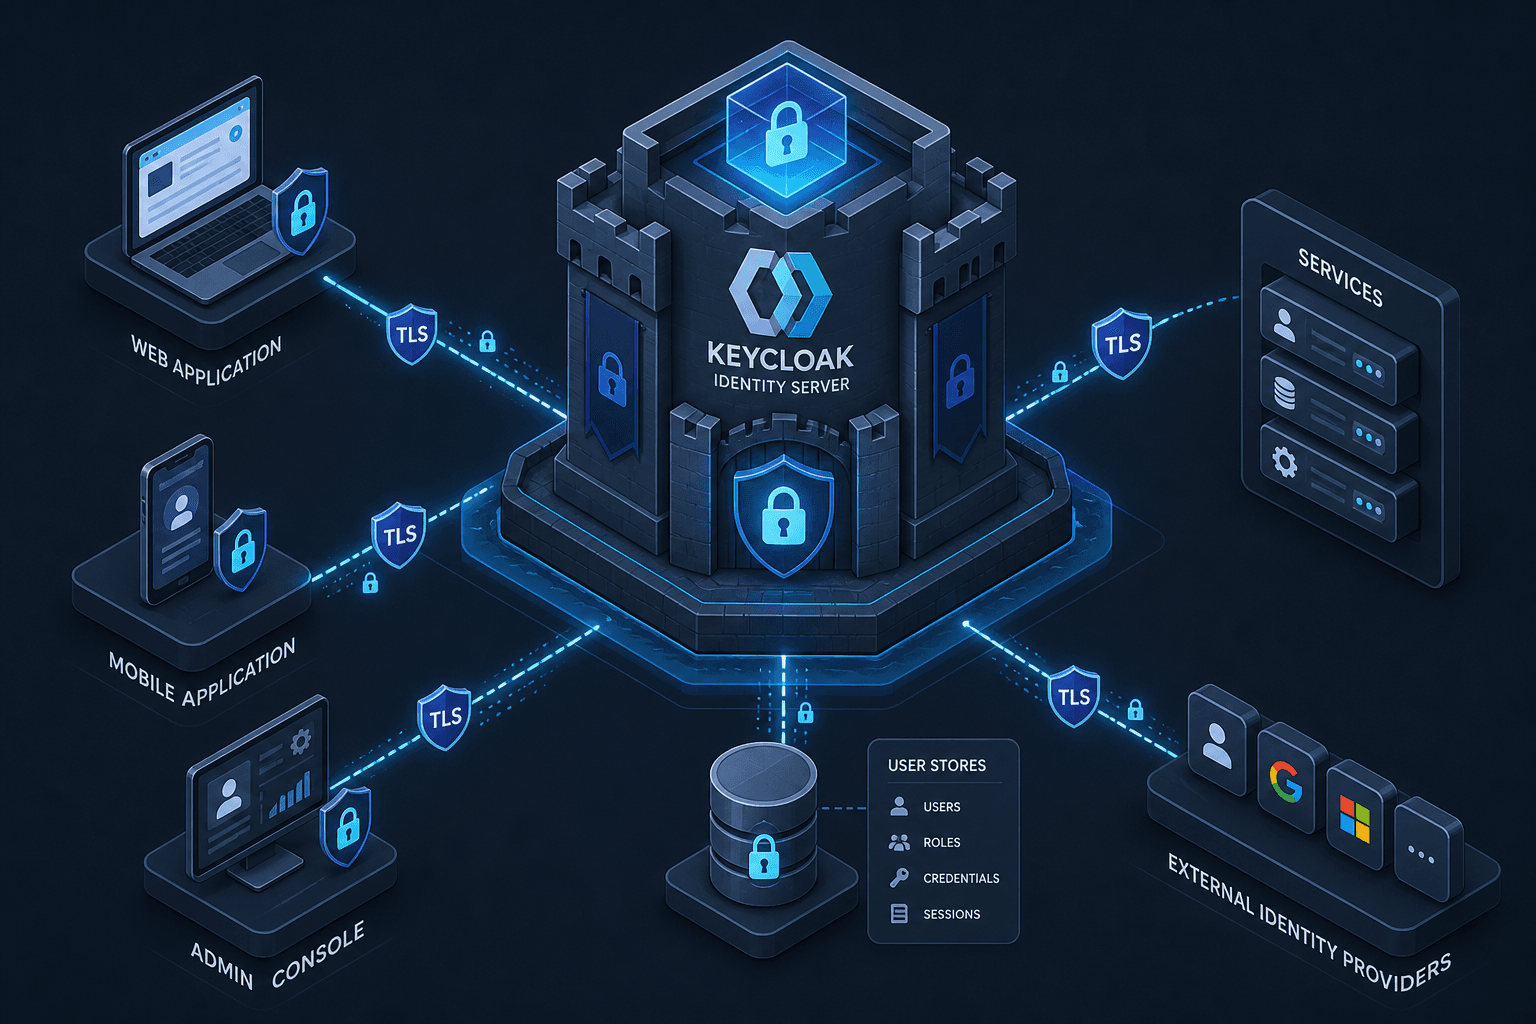
Keycloak Hardening: A Checklist for a Fresh Install
A practical checklist for securing a fresh Keycloak installation, covering TLS, authentication, and access control best practices.
A Keycloak Hardening Checklist for a Fresh Install
When you spin up a fresh Keycloak instance, you are not deploying a secure identity provider; you are deploying a debuggable development environment. The default configuration prioritizes ease of setup over security, leaving the administrative console exposed, TLS often unconfigured, and the master realm active with weak default credentials. For security and platform engineers, the first hour of deployment is the most critical window for hardening. This checklist outlines the mechanical steps to secure a fresh installation, focusing on TLS termination, administrative access control, and realm isolation.
1. Enforce TLS Termination
The most immediate vulnerability in a fresh Keycloak install is the lack of enforced HTTPS. By default, Keycloak may listen on port 8080 (HTTP) or 8443 (HTTPS) without strict certificate validation, depending on the startup flags. If accessed over HTTP, all authentication tokens, cookies, and credentials are transmitted in plaintext, allowing any network observer to perform a man-in-the-middle (MITM) attack and capture session cookies.
You must ensure that Keycloak either terminates TLS itself or sits behind a reverse proxy that enforces HTTPS. If using a reverse proxy (like Nginx or HAProxy), configure it to redirect all HTTP traffic to HTTPS and forward the X-Forwarded-Proto header. Keycloak reads this header to correctly construct redirect URIs and set the Secure flag on cookies. This behavior is critical for keycloak security best practices, ensuring that all downstream services trust the upstream proxy's security decisions. For detailed technical specifications on header handling and TLS termination, refer to the official Keycloak documentation on HTTP configuration.
# Example: Starting Keycloak with explicit HTTPS support
# Note: In production, use a reverse proxy. This example shows internal keystore configuration.
kc.sh start --http-enabled=false \
            --https-key-store-file=/path/to/keystore.jks \
            --https-key-store-password=changeit
If you are running Keycloak in containerized environments (Docker/Kubernetes), ensure the container port mapping exposes only 443 (or your proxy port) and that the keystore is properly mounted. Self-signed certificates are acceptable ONLY for internal, non-browser-facing service-to-service communication (e.g., between a proxy and Keycloak) where certificate pinning or trust stores are manually configured. They are NOT acceptable for public-facing browser endpoints, as browsers will reject them, causing authentication failures for end users.
2. Secure the Admin Console
The admin user in the master realm is the root of the entire Keycloak server. In a fresh install, this account often has a weak default password or no password at all, depending on the version and startup mode. Accessing this account grants full control over all realms, clients, and users. In the context of robust identity-management, protecting this entry point is paramount.
First, change the default password immediately upon first login. Second, enable Multi-Factor Authentication (MFA) for the admin account. Keycloak supports TOTP (Time-based One-Time Password) via the Authenticator app. This adds a second factor that cannot be phished or brute-forced remotely.
Navigate to the Admin Console > Users > admin > Credentials. Set a strong, unique password. Then, under the user's "Details" tab, add "Configure OTP" as a required action, log out, and log back in to scan the QR code with your mobile device and complete OTP setup. This mechanism ensures that even if an attacker obtains the password via keylogger or credential stuffing, they cannot access the console without the physical device. However, be aware of Recovery Codes. If Recovery Codes are configured as a backup credential, they must be securely stored or disabled if maximum security is required, as they allow bypassing the OTP requirement using the recovery code alongside the password.
3. Isolate the Master Realm
A common misconfiguration is using the master realm for production applications. The master realm is intended for server-level administration only. Keeping production clients and users in the master realm increases the blast radius if the admin account is compromised.
Create a new realm specifically for your application (e.g., production-app). Move all client configurations and user management to this new realm. Disable the master realm's public access if possible, or at least ensure it is not exposed to the public internet. This isolation ensures that a compromise of a specific application's client secret does not grant access to the administrative console of the entire Keycloak server. As outlined in this security hardening guide, separating administrative and operational domains is a core principle of effective IAM design.
4. Configure Client Secrets and Scopes
Each client registered in Keycloak must have a unique secret. Avoid reusing secrets across clients. For confidential clients (server-side applications), use the Client Secret authentication method. For public clients (single-page applications, mobile apps), disable Client Authentication and rely on PKCE (Proof Key for Code Exchange) to prevent authorization code interception attacks.
Furthermore, define minimal scopes and roles for each client. Over-permissioning clients leads to excessive claims in JWTs, increasing the risk of privilege escalation if a client is compromised. Use the "Service Accounts Roles" tab to assign only the necessary roles to the client's service account. Reviewing this configuration against a strict checklist helps ensure that no unnecessary permissions are granted.
5. Enable Audit Logging
Enable audit logging to monitor for suspicious activities. Configure the audit logger to send events to a centralized logging system (like Elasticsearch or Splunk). This allows for real-time alerting on failed login attempts, admin console access, and configuration changes.
By following these steps, you transform a fresh, insecure Keycloak installation into a hardened identity provider ready for production use. Remember that security is an ongoing process; regular reviews of client configurations, user activity, and certificate expiration are essential to maintain this posture.
Related posts
Implementing WebAuthn in Keycloak: Passkey Authentication Setup
A walkthrough for configuring WebAuthn and passkeys within Keycloak to enable passwordless authentication using FIDO2 standards.
Building a Self-Service Password Reset with Spring Boot and Keycloak
A walkthrough of implementing password recovery and self-service identity flows using Spring Boot and Keycloak required actions.
Securing Keycloak: Hardening Guide for Production
A technical examination of Keycloak security and hardening strategies for production environments, covering brute force mitigation and Content Security Policy implementation.