Rate Limiting, Brute Force Detection, and DDoS Protection in Keycloak
Learn how to implement rate limiting, brute force detection, and DDoS protection in Keycloak to secure authentication endpoints against credential stuffing and throttling attacks.
Keycloak rate limiting is a critical component of securing identity infrastructure, making Keycloak a prime target for automated adversaries. By default, Keycloak provides basic security configurations, but advanced protections like brute force detection and rate limiting require explicit configuration. If you expose the /realms/{realm}/protocol/openid-connect/token endpoint directly to the internet without hardening, you are inviting credential stuffing and brute-force attacks.
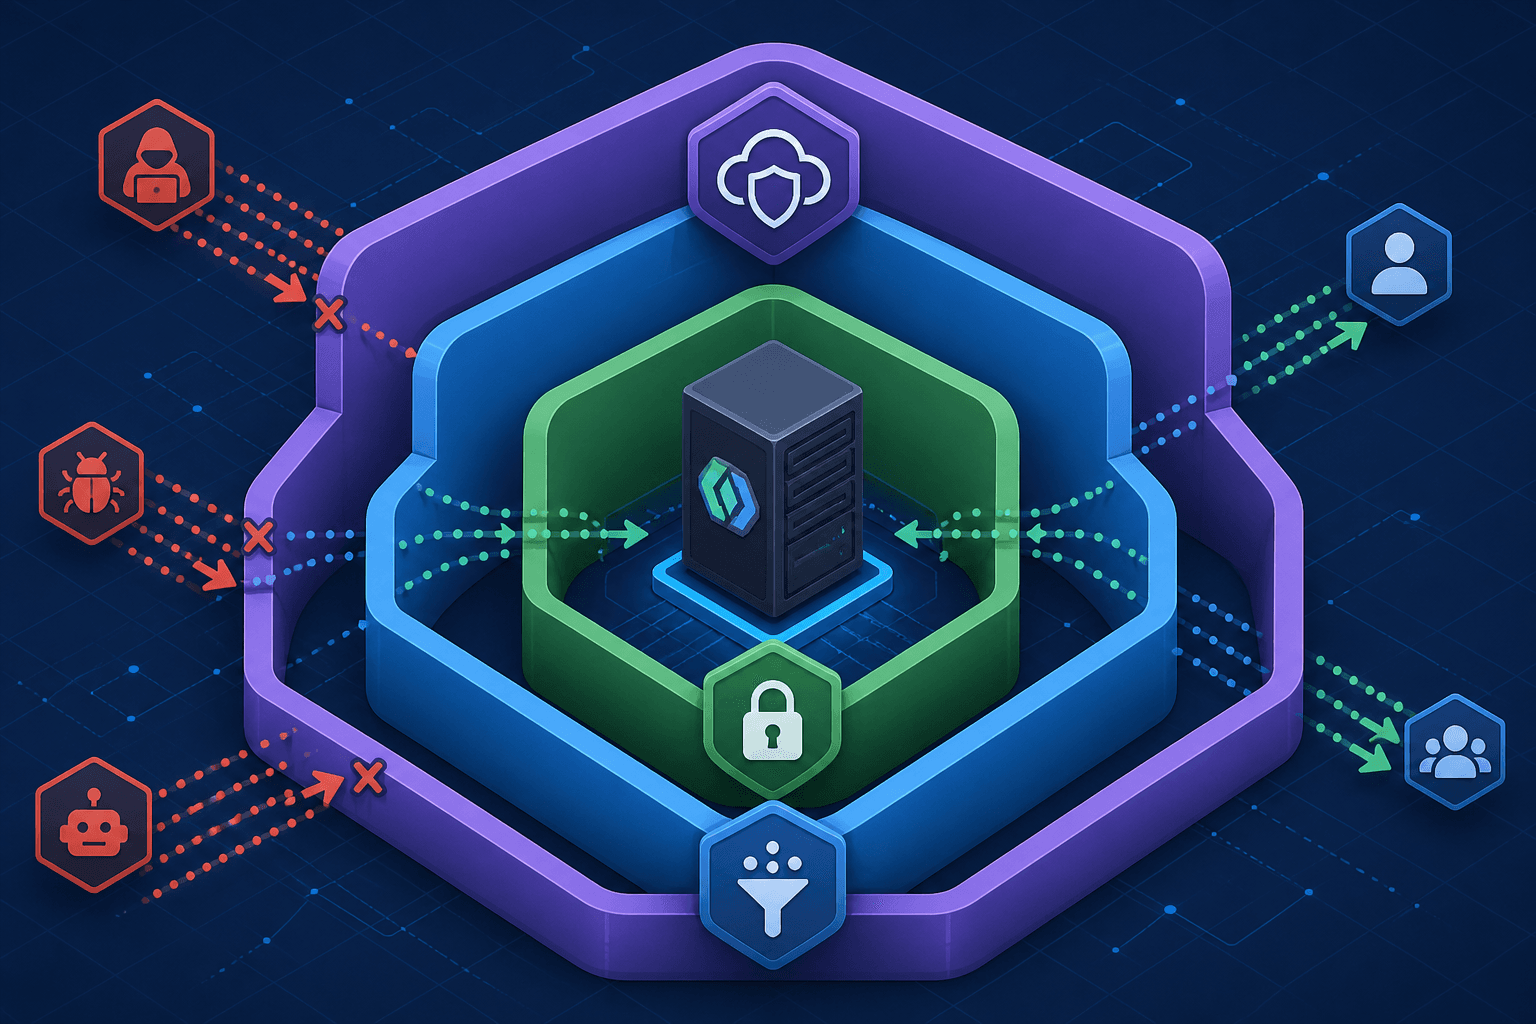
Securing Keycloak requires understanding that no single tool solves all threats. You need a layered architecture: external infrastructure for DDoS mitigation, reverse proxies for application-layer rate limiting, and Keycloak’s internal providers for brute-force detection.
The Threat Model: Why Keycloak Matters
Automated attacks fall into three categories, each requiring a different defense mechanism:
- Distributed Denial of Service (DDoS): High-volume traffic designed to exhaust server resources (CPU, memory, connections). Keycloak cannot effectively mitigate this at the application layer.
- Credential Stuffing: Attackers use databases of leaked credentials to attempt login across many accounts. The goal is volume, not speed.
- Brute Force: Attackers target specific accounts, trying many passwords. The goal is account takeover.
If you only protect against DDoS, your server stays up, but attackers can still guess passwords. If you only protect against brute force, your server stays secure, but attackers can still flood it with requests to lock out legitimate users.
External DDoS Protection
Keycloak runs on Java, which is resource-intensive. It does not have a built-in mechanism to absorb SYN floods, UDP amplification, or HTTP GET floods. Attempting to handle volumetric DDoS within Keycloak will result in slow responses or crashes, even if the attack doesn’t directly target authentication.
Mechanism: Offload DDoS mitigation to a reverse proxy or CDN that operates at the network/transport layer.
Use Cloudflare, AWS Shield, or Azure DDoS Protection. These services absorb traffic before it reaches your Keycloak instance. They filter based on IP reputation, geolocation, and behavioral analysis. For example, Cloudflare’s magic transit can scrub traffic at the edge, dropping malicious packets before they consume bandwidth or connection pools on your origin servers. This ensures that legitimate authentication requests are processed efficiently while volumetric noise is discarded upstream.
# Example: AWS WAF Rule to block known bad IPs
aws wafv2 create-rule \
    --name BlockBadIPs \
    --scope REGIONAL \
    --visibility-config ... \
    --statement "IPSetReferenceStatement Arn:arn:aws:wafv2:..."
Without this layer, your Keycloak deployment is exposed to noise that consumes connection pools and GC cycles, degrading performance for legitimate users.
Application-Layer Rate Limiting
Rate limiting controls the number of requests a client can make in a given time window. This is critical for protecting the /token endpoint, which is CPU-intensive due to password hashing and JWT signing.
Mechanism: Throttle requests based on client IP or client ID.
Keycloak has limited built-in rate limiting. While you can configure some limits in the admin console, they are not sufficient for production. The recommended solution is to use a reverse proxy like Nginx, Envoy, or HAProxy.
Nginx Example
Configure limit_req_zone in your Nginx config to limit requests to the Keycloak endpoint.
http {
    # Define zone: 10MB shared memory, 10 requests per second per IP
    limit_req_zone $binary_remote_addr zone=auth:10m rate=10r/s;

    server {
        location /realms/master/protocol/openid-connect/token {
            # Burst allows short spikes, but nodelay ensures immediate processing
            limit_req zone=auth burst=20 nodelay;

            proxy_pass http://keycloak_backend;
        }
    }
}
This prevents a single IP from hammering the token endpoint. If a client exceeds the limit, Nginx returns 429 Too Many Requests.
Keycloak Built-in Limits
Keycloak provides some basic controls in the Realm Settings > Security defenses tab:
- Max Login Attempts: Sets the number of failed attempts before locking the account.
- Login Threshold: Configures the window for counting failures.
These settings are necessary but not sufficient. They protect against brute force but not against distributed credential stuffing from thousands of IPs.
Brute Force Detection and Account Lockout
Brute force detection is Keycloak’s native capability. It tracks failed login attempts and locks accounts after a threshold is reached.
Mechanism: The UserLoginFailureProvider stores failure counts in the database. When a user fails to log in, the count increments. If it exceeds the limit, the account is locked.
Enabling Brute Force Protection
By default, Keycloak may not have brute force protection enabled. Enable it in the Realm Settings > Security defenses tab.
- Brute Force Protected: Enable this toggle.
- Temporary Lockout: Set the lockout duration (e.g., 5 minutes).
- Max Login Attempts: Set the threshold (e.g., 5 attempts).
How It Works
When a user fails to log in:
- Keycloak increments the
loginFailurescounter in theUSER_LOGIN_FAILUREtable. - If the counter exceeds
maxLoginAttempts, the account is locked. - The user receives an error message, and subsequent login attempts fail until the lockout period expires.
Warning: DoS via Account Locking
Brute force protection can be abused. An attacker can intentionally lock out legitimate users by failing to log in with their credentials. This is a Denial of Service (DoS) attack.
Mitigation:
- Use CAPTCHA after a few failed attempts. Keycloak supports reCAPTCHA v2/v3.
- Implement email notifications on account lockout so users are aware.
- Consider using IP-based rate limiting (via Nginx) in addition to account lockout.
CAPTCHA Integration
Enable CAPTCHA by adding the Recaptcha execution to your browser flow in Authentication > flows. Configure the provider (e.g., Google reCAPTCHA). This adds friction to automated attacks without significantly impacting human users.
# Example: Keycloak environment variable for reCAPTCHA
kc.spi.forms-auth-provider-recaptcha-site-key=your_public_key
kc.spi.forms-auth-provider-recaptcha-secret-key=your_secret_key
Practical Configuration Checklist
Here is a checklist for securing Keycloak in production:
- Enable HTTPS: Always use TLS. Never expose Keycloak over HTTP.
- Enable DDoS Protection: Use a CDN or WAF.
- Configure Rate Limiting: Use Nginx or Envoy to throttle requests to the token endpoint.
- Enable Brute Force Protection: Set
maxLoginAttemptsandlockoutDuration. - Enable CAPTCHA: Protect against automated brute force attacks.
- Monitor Logs: Set up alerts for unusual login patterns (e.g., many failures from a single IP).
Conclusion
Securing Keycloak is not about a single setting. It is about defense in depth. Use external tools for DDoS, reverse proxies for rate limiting, and Keycloak’s native providers for brute-force detection. By combining these layers, you protect your authentication infrastructure from both volumetric and intelligent attacks.
Remember: Keycloak is designed to be flexible, not secure by default. Your job as a platform engineer is to configure it securely. While DDoS protection is optional for small deployments or internal-facing instances, rate limiting and brute force detection are mandatory for public-facing endpoints. Start with rate limiting and brute force detection, then add DDoS protection as needed. Test your configuration with tools like hydra or hashcat to ensure your defenses hold.
Related posts
Securing Keycloak: Hardening Guide for Production
A technical examination of Keycloak security and hardening strategies for production environments, covering brute force mitigation and Content Security Policy implementation.
Multi-Factor Authentication with OIDC: Implementing MFA
An examination of implementing multi-factor authentication using OIDC, covering Keycloak, WebAuthn, TOTP, and step-up authentication via ACR.
Building Identity-Aware Load Balancing with NGINX and Keycloak
Learn how to implement identity-aware load balancing using NGINX and Keycloak for secure authentication routing.